Advantages run Word-Press in docker container:
- LAMP (Linux, Apache, MySQL, PHP/Perl/Python) server is isolated from hosted OS and installation/updating/removing it or depended software doesn't affect your host.
- You can easily update your instance with getting a new docker image.
- DataBase can be accessible from Docker network only for advanced security reason.
- Easy way to copy or move your site onto another server. Your need to move docker-compose.yaml, working directory, and run docker composer.
My environment:
lsb_release -d
Description: Debian GNU/Linux 11 (bullseye) – Raspberry PI 4
Description: Ubuntu 22.04.1 LTS – AWS Cloud instance
Docker version 20.10.18
Docker Compose version v2.5.0
Follow these steps to update it (or steps 3 & 4 to install):
- docker stop portainer
- docker rm portainer
- docker pull portainer/portainer-ce:latest
- docker run -d -p 8000:8000 -p 9443:9443 –name portainer –restart=always -v /var/run/docker.sock:/var/run/docker.sock -v portainer_data:/data portainer/portainer-ce:latest
Installation steps:
1. Docker Compose
Please find the step-by-step process in the following article (applicable for Ubuntu as well).
“Install Docker-compose onto Raspberry OS”
2. Portainer
Portainer is needed for access to the container console.
A lot of authors suggest to install a separated container with NGINX server. But WordPress docker image includes Apache server. So, I don’t see any reason to install one more web-server for it.
But, the configuration for included web-server is embedded into the container. Hence, Apache config files have to be extracted to the host and attached to the container as a volume.
Using potrainer is the easiest way to perform this trick.
host:# docker stop portainer
host:# docker rm portainer
host:# docker pull portainer/portainer-ce:latest
host:# docker run -d -p 8000:8000 -p 9443:9443 --name portainer --restart=always -v /var/run/docker.sock:/var/run/docker.sock -v portainer_data:/data portainer/portainer-ce:latest
3. Obtain SSl certificate
Nowadays HTTPS (SSL certificate) is must-have for any site.
Unfortunately, WordPress creates all links accordingly to your first installation. So, you will need some plugins to fix your links if you set up your WordPress with “http://” instead of “https://”.
WordPress has the same issue if you setup it with IP address http(s)://xxx.xxx.xxx.xxx instead of http(s)://yourdomain.com.
Hence, there is strong recommendation to set up your WordPress with the real site name (public domain) to avoid additional exercises.
4. Prepare working directories:
host:# mkdir /opt/wordpress
host:# cd /opt/wordpress
5. Prepare docker-compose.yml:
touch /opt/wordpress/docker-compose.ymlPlease open your preferred text editor and configure your certbor containers.
Please be aware that this is an example and you have to replace the following values with your real info:
- line 13,32,49: YourTimeZone
- line 14,17,34,53: Your passwords
- line 56: Must be commented with “#” at first launch, because Apache2 can’t be launched with empty configuration folder
version: '3.8'

services:

  mariadb:
    image: mariadb:latest
    container_name: mariadb
    hostname: mariadb
    volumes:
      - /opt/wordpress/mysql:/var/lib/mysql
      - /opt/wordpress/etc/mysql:/etc/mysql
    environment:
     - TZ=YourTimeZone
     - MYSQL_ROOT_PASSWORD=XXXXXXX
     - MYSQL_DATABASE=wordpress
     - MYSQL_USER=wordpress
     - MYSQL_PASSWORD=XXXXXXX
    networks:
      - wordpress


  phpmyadmin:
    image: phpmyadmin:latest
    container_name: phpmyadmin
    hostname: phpmyadmin
    depends_on:
      - mariadb
      - wordpress
    ports:
      - '8080:80'
    environment:
     - TZ=YourTimeZone
     - PMA_HOST=mariadb
     -  MYSQL_ROOT_PASSWORD=XXXXXX
    networks:
      - wordpress


  wordpress:
    image: wordpress:latest
    container_name: wordpress
    hostname: wordpress
    depends_on:
     - mariadb
    ports:
      - 80:80
      - 443:443
    environment:
      - TZ=YourTimeZone
      - WORDPRESS_DB_HOST=mariadb:3306
      - MYSQL_DATABASE=wordpress
      - WORDPRESS_DB_USER=wordpress
      - WORDPRESS_DB_PASSWORD=XXXXXX
    volumes:
      - /opt/wordpress/html:/var/www/html
#      - /opt/wordpress/etc/apache2:/etc/apache2
      - /opt/wordpress/etc/letsencrypt:/etc/letsencrypt
    networks:
      - wordpress

networks:
  wordpress:
    driver: bridge
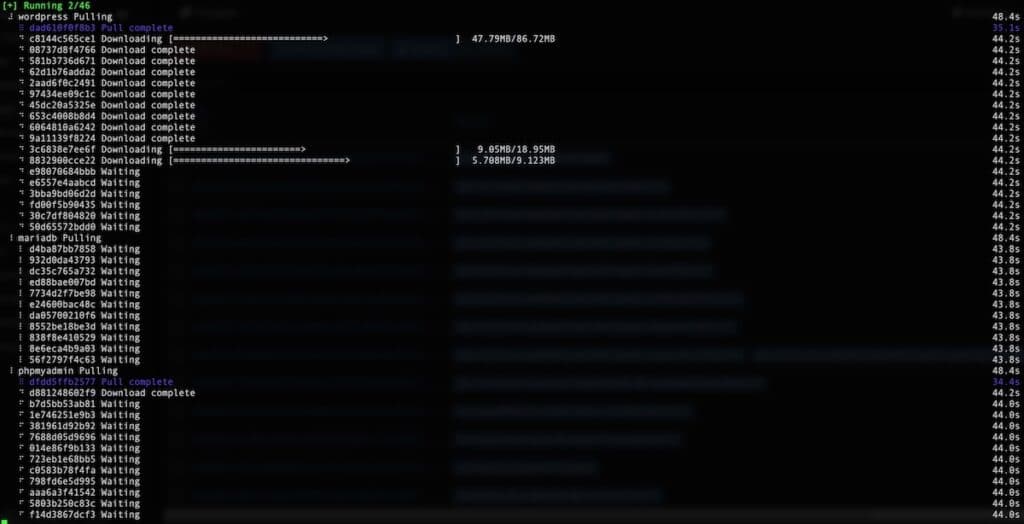
Launch containers:
docker-compose up --remove-orphansThe process takes some time depending on your Internet connection bandwidth and the productivity of your system.
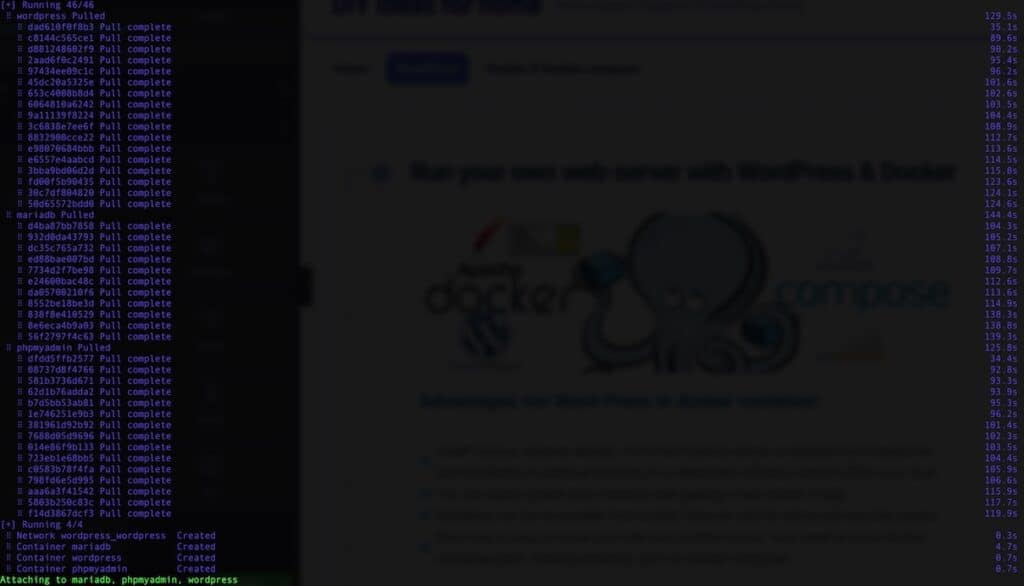
As a result WordPress should be accessible with 80th port and and phpMyAdmin with 8080.
host:# netstat -nlp | grep :80
 tcp        0      0 0.0.0.0:8080            0.0.0.0:*               LISTEN      809850/docker-proxy
 tcp        0      0 0.0.0.0:80              0.0.0.0:*               LISTEN      809707/docker-proxy
6. enable to configure apache server outside of container:
By default WordPress container is configured with HTTP only, but not HTTPS.
Of cause, you can configure it inside the container, but your configuration will be lost if you redeploy it.
Hence, you have to take out Apache config from the container.
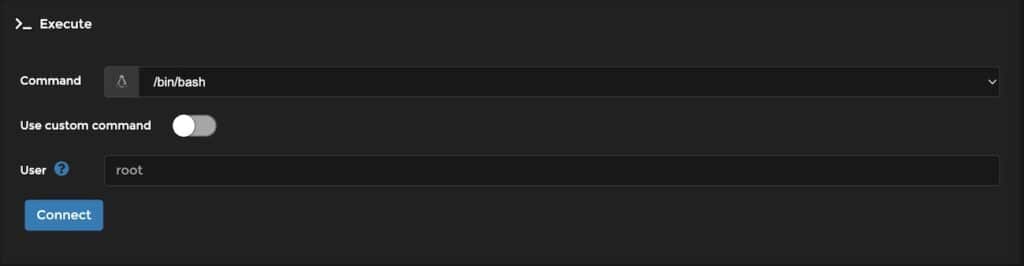
Please follow step 2 of this article if Portainer is not launched still.
So, connect to console of WordPress container as a root and copy /etc/apache2 directory to /var/www/html and close console in Portainer.

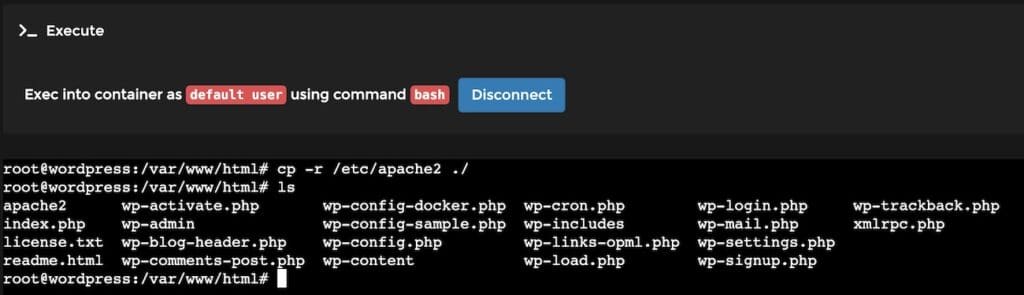
Now you have to disconnect from Portainer console and back to your system’s terminal.
The next step is attaching the taken-out configuration to your WordPress container as a volume.
Please stop your Docker-compose – you can just press Cntr-C in a terminal where it launched.
CGracefully stopping... (press Ctrl+C again to force)
[+]Running 3/3
⠿ Container phpmyadmin      Stopped     5.3s
⠿ Container wordpress       Stopped     3.3s
⠿ Container mariadb         Stopped     3.0s
mv /opt/wordpress/html/apache2 /opt/wordpress/etcCopy Apache configuration to the directory for the config volume:
Don’t forget to uncomment line 56 in your docker-compose.yml
- /opt/wordpress/etc/apache2:/etc/apache2Run your containers again to be sure that your set up is working.
6. configure https for your wordpress with Let’s Encrypt SSL certificate and certbot:
Please follow steps in the article “Obtain Free SSL certificate for your site“ and save your certificate: fullchain.pem and private key: privkey.pem.
Please pay attention to symlinks which CertBot provides for last versions of files.
Hence, don’t forget -L option for cp command and replace example.com with your domain name:
host:# cp -L /opt/certbot/etc/letsencrypt/live/example.com/fullchain.pem /opt/wordpress/etc/apache2/
host:# cp -L /opt/certbot/etc/letsencrypt/live/example.com/privkey.pem /opt/wordpress/etc/apache2/
Let’s enable HTTPS in the Apache configuration.
Please remember that paths in your system and inside a container are different.
So, you have to use relative symlinks, but not absolute!
Firstly you have to enable necessary Apache modules:
host:#  cd /opt/wordpress/etc/apache2/mods-enabled/
host:#  ln -s ../mods-available/ssl.conf ssl.conf
host:#  ln -s ../mods-available/ssl.load ssl.load
host:#  ln -s ../mods-available/socache_shmcb.load socache_shmcb.load
Enable and configure Apache SSL:
host:#  cd /opt/wordpress/etc/apache2/sites-enabled/
host:#  ln -s ../sites-available/default-ssl.conf default-ssl.conf
-
SSLCertificateFile
-
SSLCertificateKeyFile
SSLCertificateFile /etc/apache2/fullchain.pem
SSLCertificateKeyFile /etc/apache2/privkey.pem
Launch your docker-compose and check if your WordPress is accessible from browser with link https://www.yourdomain.com
host:# cd /opt/wordpress
host:# docker-compose up --remove-orphans
Please remember that your domain can be accessed from your local network in the following cases:
- If your domain is resolved by public DNS.
But, your router has to permit access to your public IP with port forwarding from your local network. - If you have your own DNS server in your local network and it’s configured to resolve your domain into your local IP.
- You added appropriate record for your WordPress instance to hosts file on your desktop.
7. Backup or migrate WordPress with docker:
As a result, you can simply migrate your WordPress to another instance with the following steps:
- Stop your docker-composer
- Archive and copy directory /opt/wordpress to another instance.
- Unarchive your directory and run docker-compose.
7. Run wordpress container as a service with systemd:
A manual run and stop of a container is suitable for debug and experiments, but this approach isn’t convenient for everyday usage.
Let’s prepare wordpress.service config file for systemd:
host:# cd /opt/wordpress
host:# touch wordpress.service
Your WorPress service is depended on launched docker.
[Unit]
Description=WordPress Docker Container
Requires=docker.service
After=docker.service

[Service]
Restart=always
RemainAfterExit=true
User=root
Group=root
WorkingDirectory=/opt/wordpress
ExecStartPre=/usr/local/bin/docker-compose -f docker-compose.yml down
ExecStart=/usr/local/bin/docker-compose -f docker-compose.yml up -d --remove-orphans
ExecStop=/usr/local/bin/docker-compose -f docker-compose.yml down

[Install]
WantedBy=timers.target
Enable and run your service:
host:# cp wordpress.service /etc/systemd/system
host:# systemctl enable wordpress.service
host:# systemctl start wordpress
You can check your service launching with getting logs in another terminal session:
host:# tail -f /var/log/syslog | grep docker-compose
docker-compose[2892621]: wordpress  Warning: No resource found to remove
docker-compose[2892638]: Network wordpress_wordpress  Creating
docker-compose[2892638]: Network wordpress_wordpress  Created
docker-compose[2892638]: Container mariadb  Creating
docker-compose[2892638]: Container mariadb  Created
docker-compose[2892638]: Container wordpress  Creating
docker-compose[2892638]: Container wordpress  Created
docker-compose[2892638]: Container phpmyadmin  Creating
docker-compose[2892638]: Container phpmyadmin  Created
docker-compose[2892638]: Container mariadb  Starting
docker-compose[2892638]: Container mariadb  Started
docker-compose[2892638]: Container wordpress  Starting
docker-compose[2892638]: Container wordpress  Started
docker-compose[2892638]: Container phpmyadmin  Starting
docker-compose[2892638]: Container phpmyadmin  Started